Why would you make one of these?
I made this chandelier for “A Midsummer Night’s Dream” dinner party, but it could easily be used for any type of party that includes floral decor, such as weddings, bridal or baby showers, etc. It also could be used for interior design, as the focal point of the room. The possibilities are endless!
Click here for some other ideas for other variations of a flower chandelier.


What you’ll need:

To buy:
- 23 ‘large’ fake flowers. I suggest picking a color scheme first.
- The larger the blossom, the fewer flowers you will have to buy!
- Get 1 flower that will be your centerpiece for the bottom.
- Get 4 accent flowers for the sides of the chandelier.
- Pick 3 colors for variations. For example, I used orange, purple and blue.
- Pick 3 different variations of each color. For example, I did a pink-orange, red-orange and yellow-orange.
- Get 2 of each variation. For example, 2 stems of pink orange blossoms.
- Make sure some of the stems have leaves that you can use to highlight blossoms.
- 1 foam sphere for floral crafts, 8.7 inch diameter. Can be green or white.
- 4 nails with large heads.
- 22 galvanized Handi-Wire.
- Optional: battery-operated light strings. (I used 2 10 ft. long strings.)
Tools:
Options to consider:
- Flower colors
- Foliage variations instead of flowers (great for Fall & Winter)
- Lights or no lights
- Lights that are steady, or lights that twinkle
- Wire cutter
- Sharpie
- Optional: glue gun.(in case some flowers do not stay in styrofoam.)
Where to buy:
- Your everyday craft stores like Michael’s and AC Moore.
- Make sure to download their app to find great discounts.
- Since fake flowers can be expensive, look for seasonal sales.
- This project could cost between $80 and $150, depending on how you cut costs.


Let’s getting crafting!
Steps:
- Take the styrofoam ball and make marks using a sharpie to indicate top, bottom, right-side, left-side, front-side and back-side.

- Put 4 nails into sphere, one each for the right-side, left-side, front-side and back-side. Make sure to insert at a downward angle to ensure that whatever you use to hang this has a strong base.


3. Cut stems near the blossom using a wire cutter.

4. Push stem forcefully into the center of the bottom. This flower will be the centerpiece flower from which to build from. Observers looking directly up at the chandelier will see this flower.
5. Surround the centerpiece flower with blossoms that are opposite colors to highlight the centerpiece flower. For example, red-orange and red-purple blossoms, against the dark blue blossom centerpiece.


6. Pull leaves from the stems of the fake flowers, then insert to highlight the bright blossom colors.


7. Once you have finished most of the bottom area, start working on the sides. Put in accent flowers that stand out against most of the blossoms being used. For example, I used white flowers with yellow inside.


8. Finish filling in the rest of the chandelier with both leaves and blossoms. Try to avoid having similar colored blossoms next to each other. It is a good idea to juxtapose the flowers on either side of the sphere, so they are not paired together.
9. Repeat until sphere is full.
10. Next, wrap wire tightly around the head of the nail. Make each wire at least 3 feet long to give you options for hanging.

11. Repeat for all 4 nails.


12. Wrap lights around the chandelier, making sure the bulbs are on the blossoms, and not behind the blossoms. This will highlight the brighter colors even further.


13. To hang this up, you can either use the wire to directly wrap around some sort of stable pole, or you can use the wire to create a hook to then use with strong string to secure.

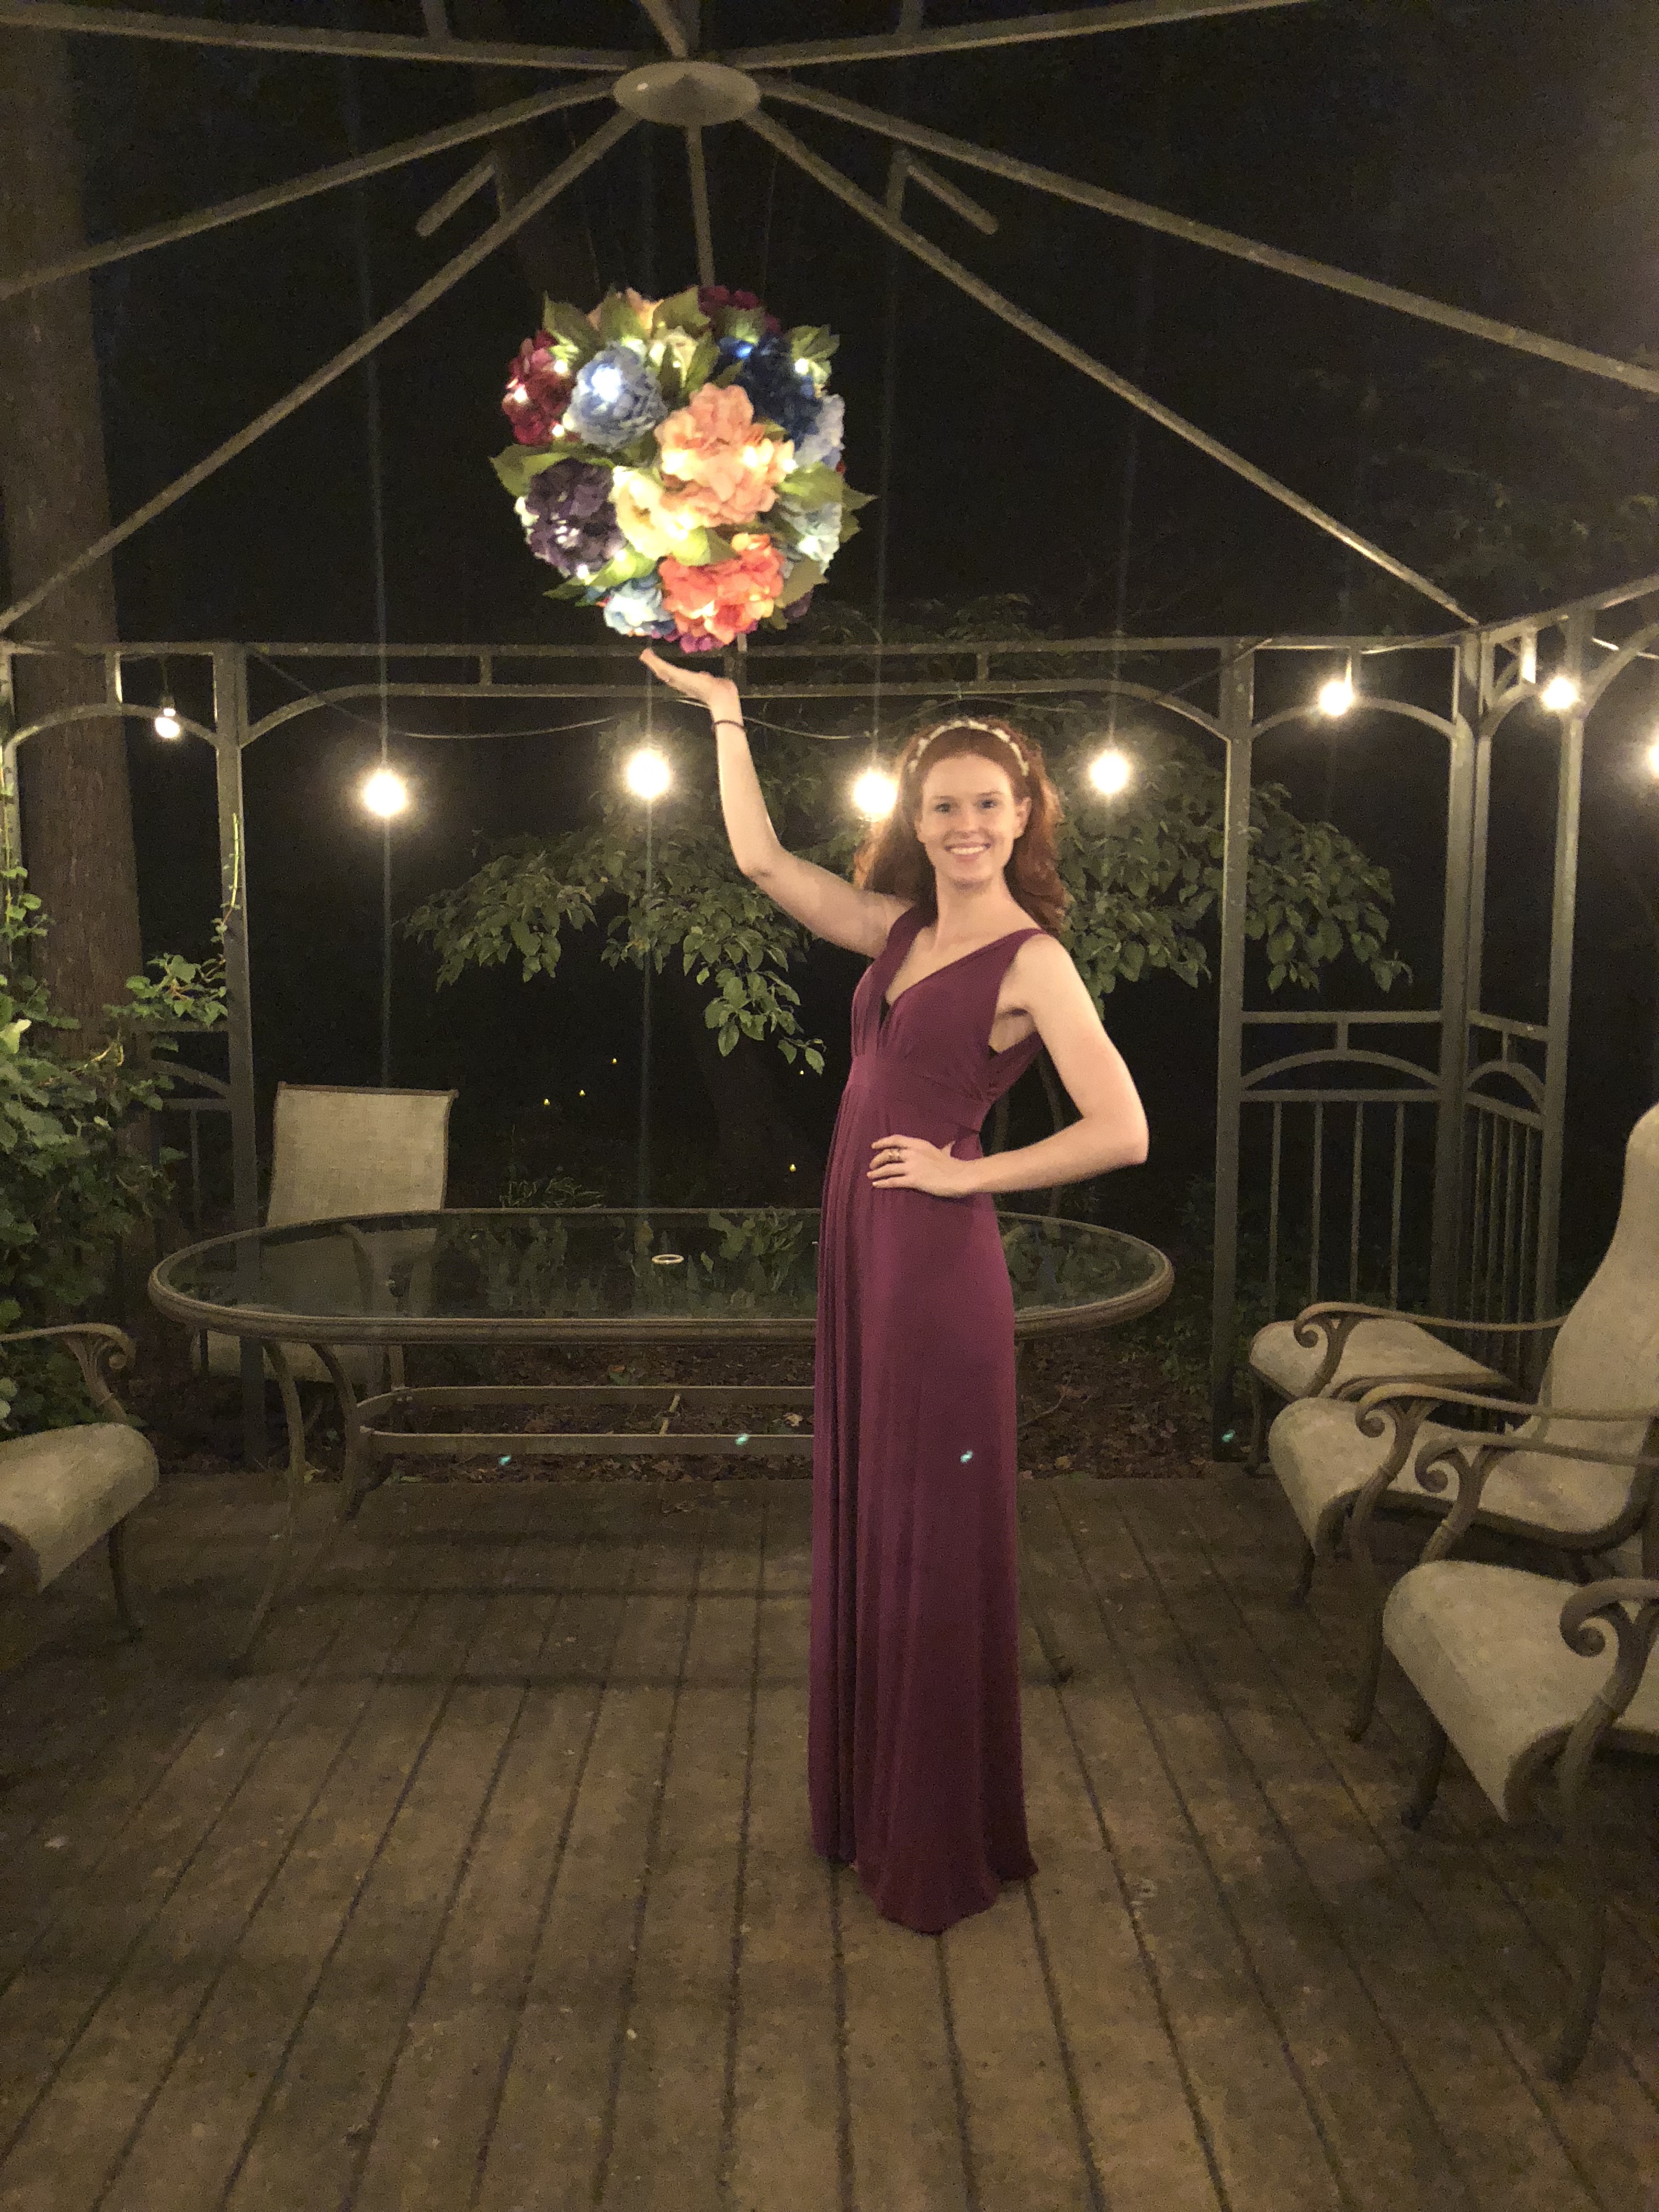
14. Turn on the lights and enjoy the focal piece of your party, room, etc.

Things to consider that may change the steps:
- Size of sphere. (maybe larger or smaller?)
- Amount of spheres. (maybe you want to cluster small spheres together?)
- Amount of flowers, you may need more or less than 23 flowers
- Location where are you hanging this. Consider, what can you hang it on.
- Lights or no lights? If there is enough lighting in the space, then you don’t need to wrap the chandelier with fairy lights.
- If you do want lights, do you want them steady or blinking? This helps decide what type of lights to buy.
Leave a Reply